

KD J98 camper project
Hi guys,
i'm trying to show you some bits of my camper project i'm currently working on.
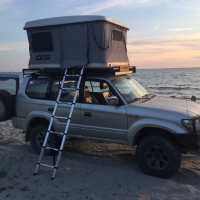
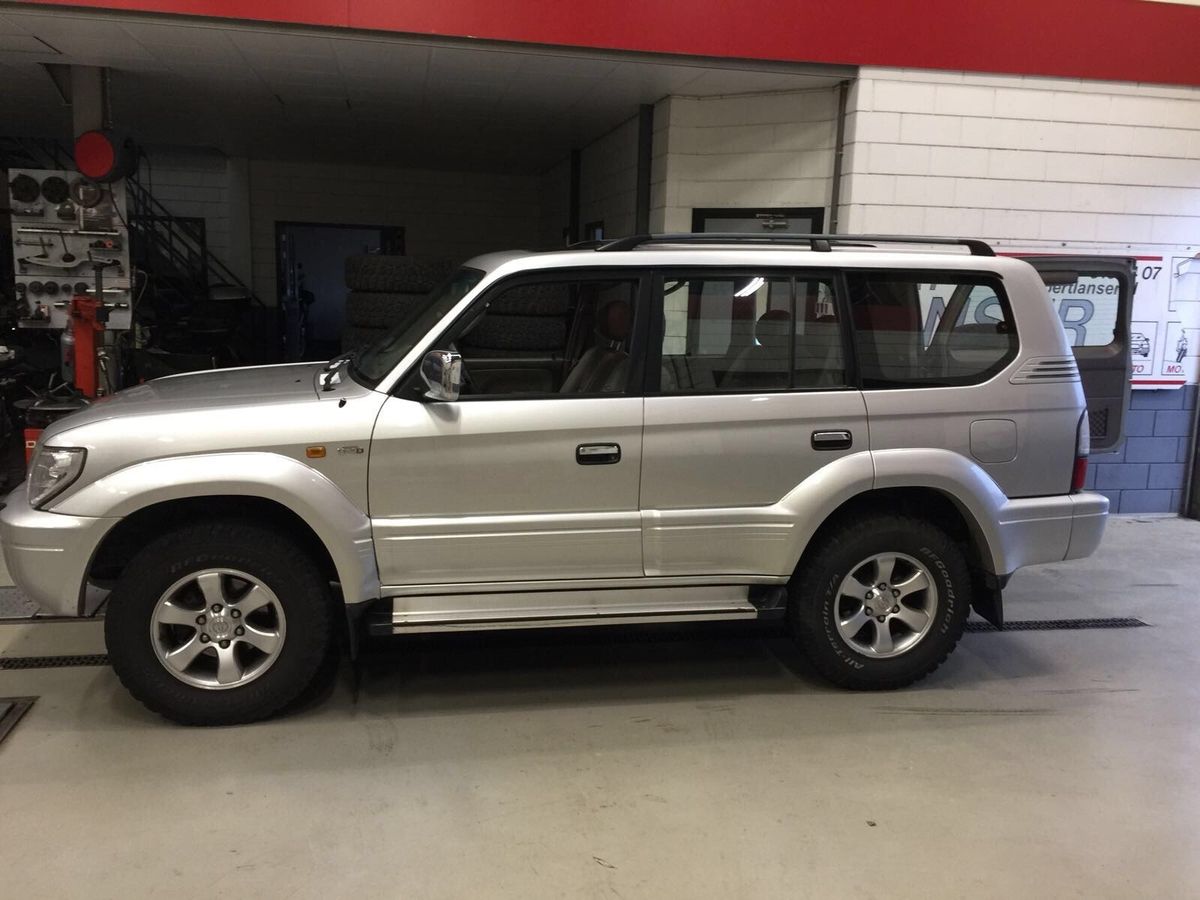
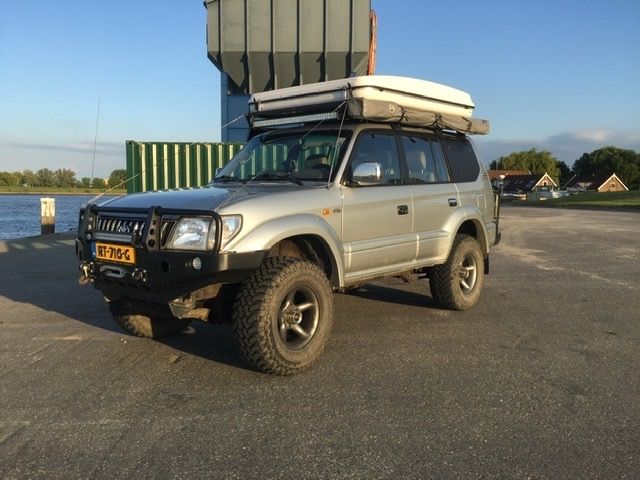
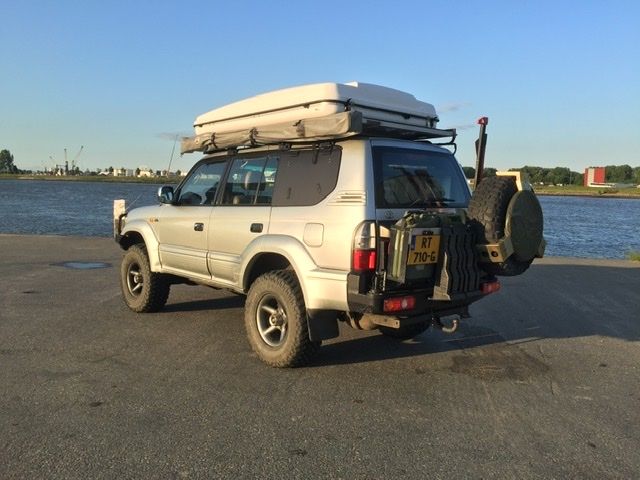
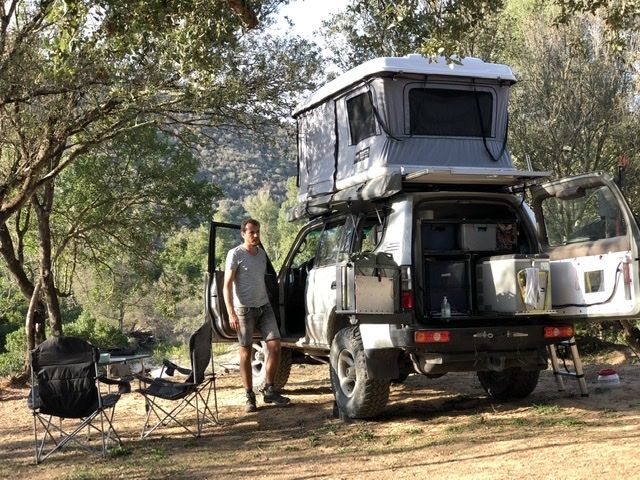
2 years ago i bought my 95 as a complete stock car and turned it into a very good and releable off-road car. I lifted the car with 1.5" on the springs and another 1.5" with a body lift and put 285/75-16 tires on it, and i made it ready for the holidays with the roof top tent, awning and al the stuff we needed to go camping.
But the more my girlfriend and i were traveling the more plans we got and eventually i was thinking of buying a bushtaxi, putting a pop-top on it and turning it into a off-road camper. But i figured out those cars are pretty expensive in the netherlands and started thinking of putting a pop-top on my 95 and turning it into a camper. After a couple of months thinking how i should do that and what the pro's and con's where, i made a plan how i could start this without ruining my good land cruiser.
I wanted to stretch my land cruiser with about 25 cm and put a pop-top on it.
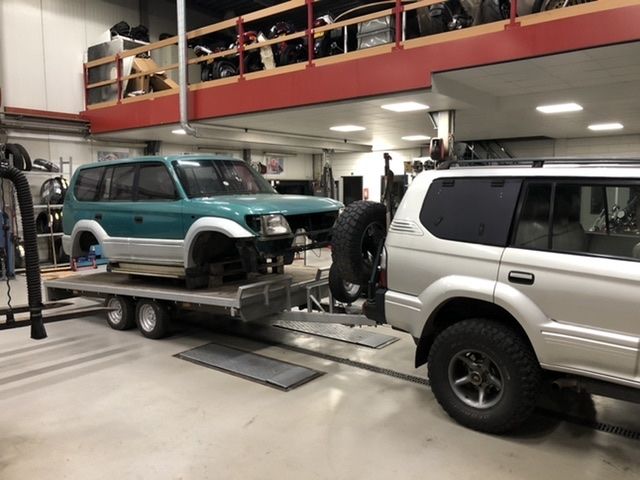
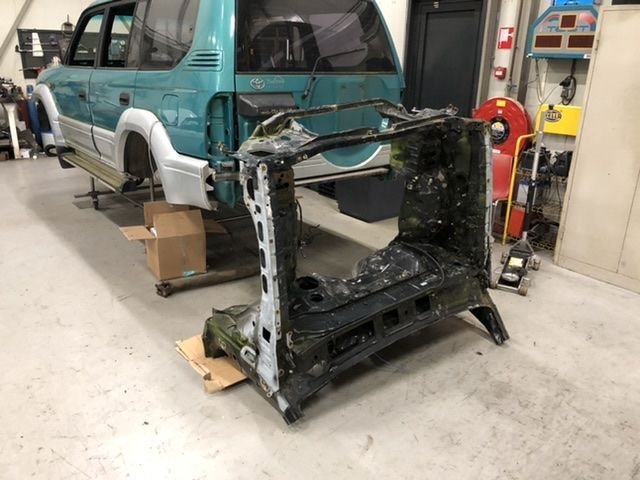
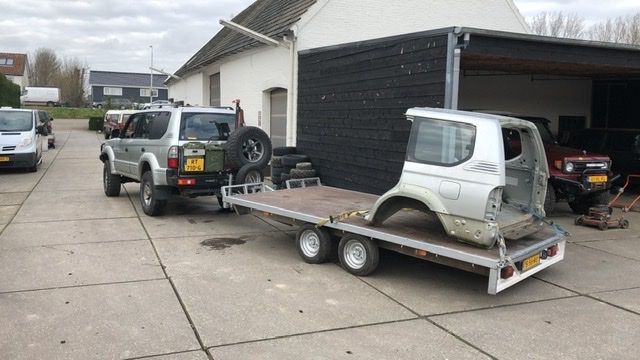
So i bought a very good and rust free 95 body and also the rear end of another 95 from a guy who wrecks those cars. In this way i could still drive my land cruiser and if the project would fail i would still have a nice land cruiser and not a wrecked one ![]()
So this is how the idea started and i will try to show you in the following messages what i did in the past 5 months, which problems i ran into and also keep you posted till the end of the project.
If you have any questions don't hesitate to ask them.
Comments
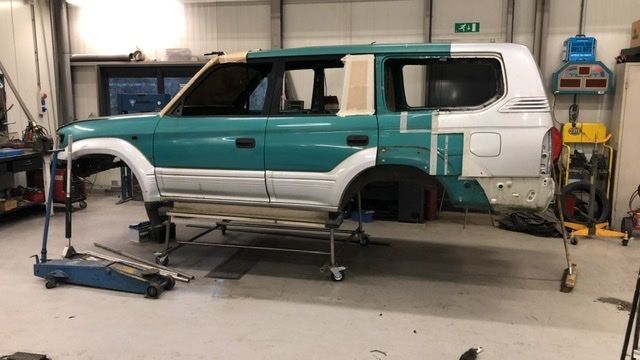
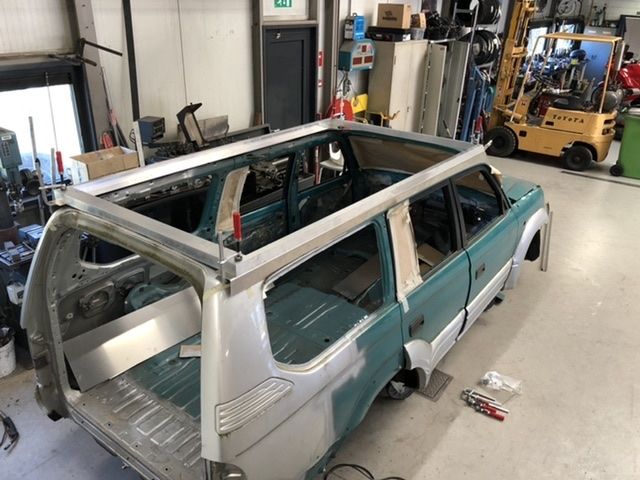
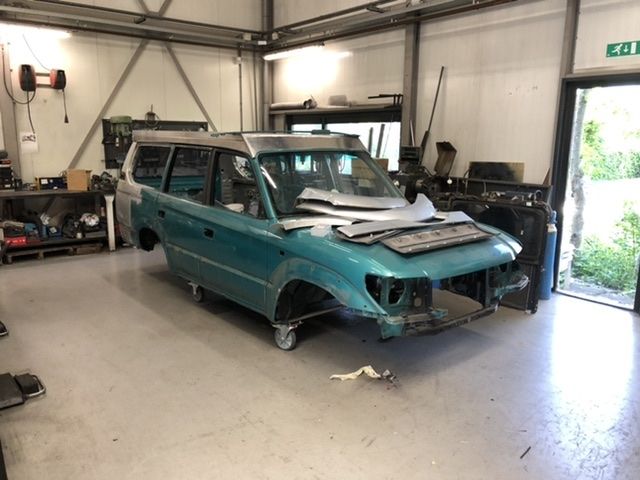
In Januari i picked up a good body from an 95 series and drove it back to the workshop of my father, after a good inspection on rust we were pretty suprised. I knew the body was solid and pretty much rust free, but this good was a suprise.
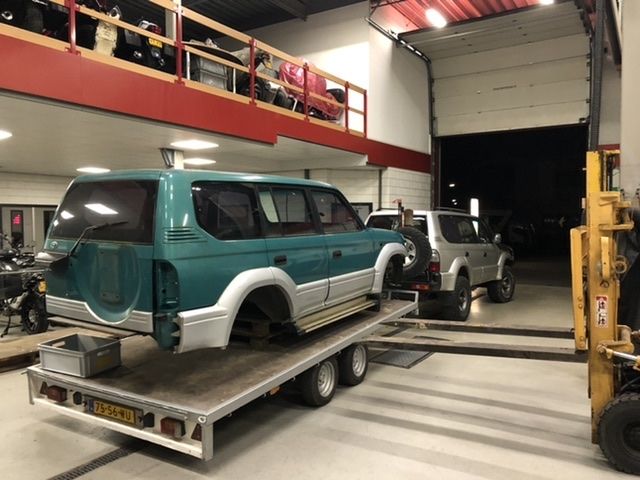
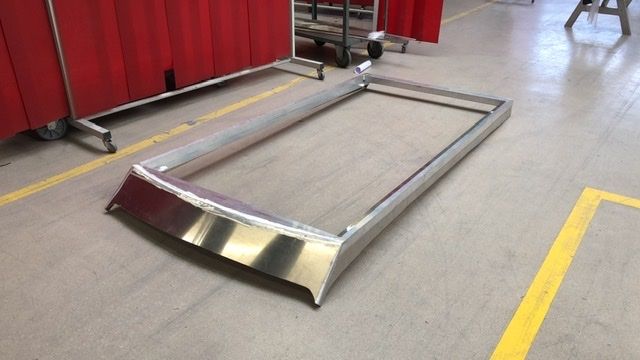
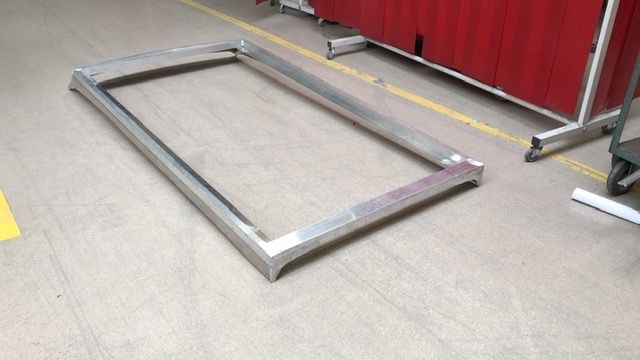
First thing to do was making the body movable, so I made a frame with wheels so I could move it when it was standing in the way.
Now we could really started with the first big steps. When I started the project I told myself to take the time and do it good. So I tried to see al the steps as small projects and finish them al one by one. The idea is to finish the build around December so I take a year for it.
The first “project” is turning this RHD car into a LHD. It is not easy to find a solid rust free body. So I had to do it with a UK car which is obviously a RHD. But the guy where I bought the parts also had a crashed 90 LHD so I also bought the front-end of this car.
And then I removed the bulkhead of the 90 series as big as possible and from the 95 I removed the bulkhead also but removed an inch less of steel so I could weld the 90 serie bulkhead on the 95 and turning it into a LHD

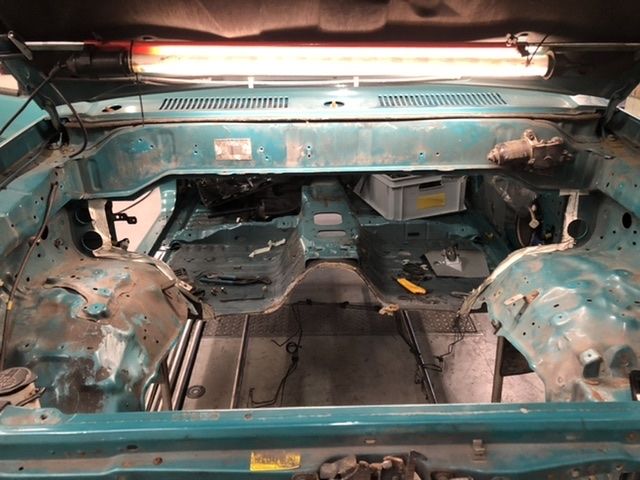
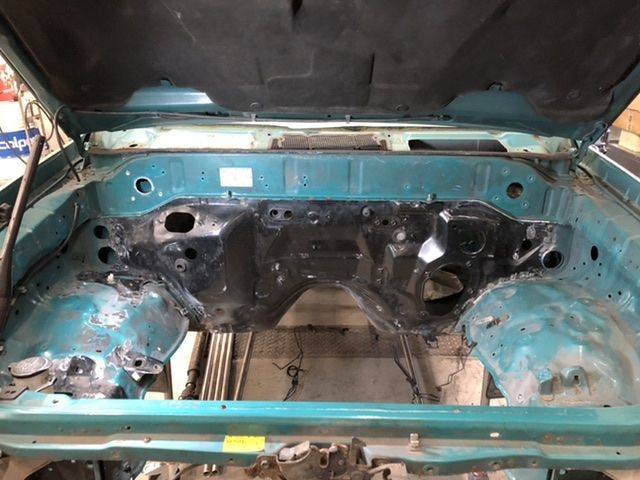
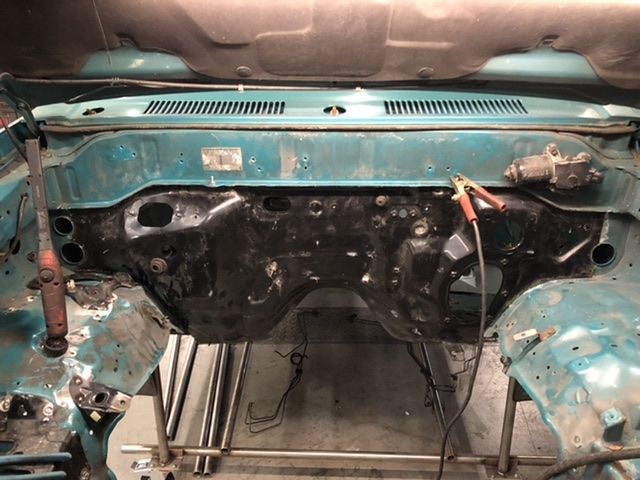
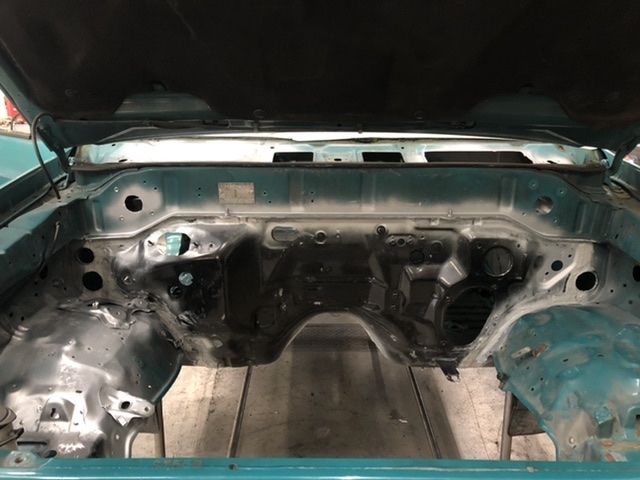
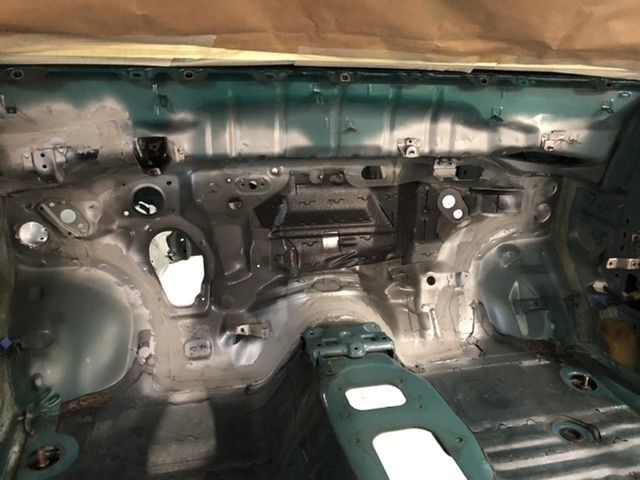
Turned out this would be a lot more easy the expected. there where a lot of good reference made in the bulkhead and was going pretty much straight forward. Hopefully i will say that also when i'm going to put the body on my car.
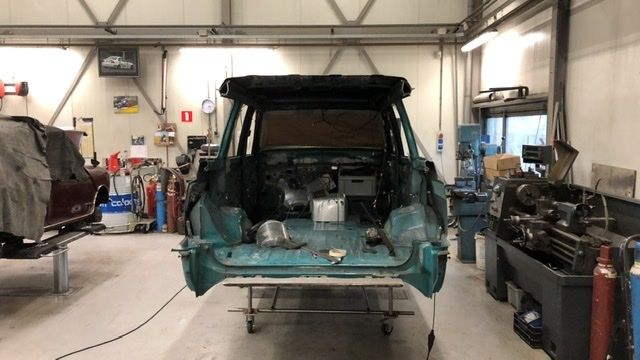
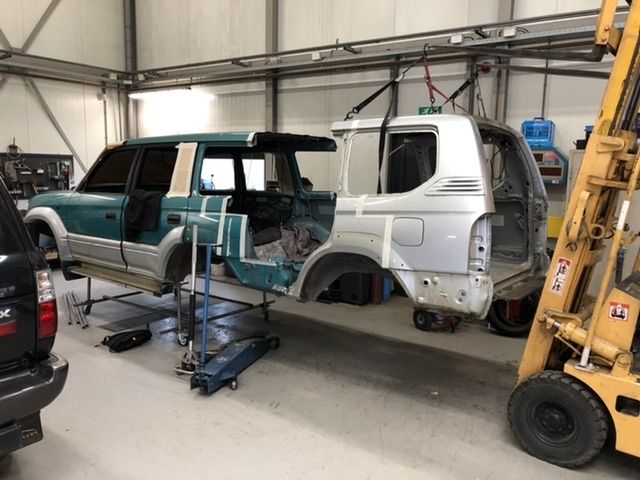
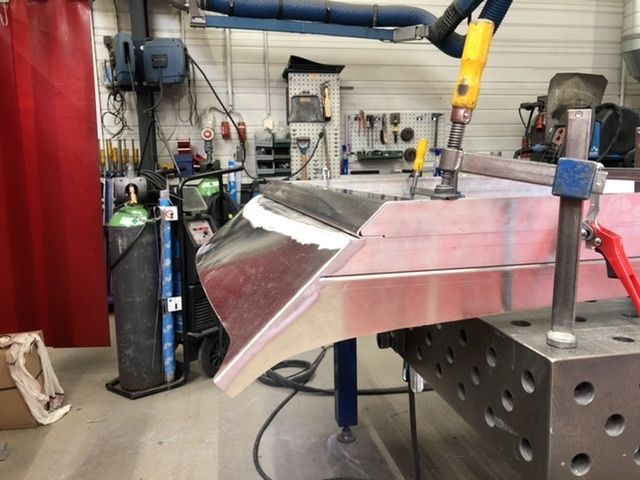
The second big “project” which is also very important for the progress of the project is cutting the rear-end and stretching it.
In the Netherlands there are some rules a car needs to meet to become a camper. One of those rules involves the room behind the front row seat. They say there needs to fit an imaginary square behind the seats with the length of 2.00 meter, with a height of 1.30 meter and a width of 0.9 meter. The width of 0,9 meter is no problem because this will fit the normal size of the car. Also the height of 1.3 meter is no problem because I will put a pop top on the car and in that way I will make sure I meet the height. Only the length of 2.0 meter is a problem. Behind the seats there will fit a Imaginary square of 1.8 meter which is not enough. But with stretching the car 25cm I will meet the demand of 2.0 meter.
Obviously I figured this out before I started the project, I also made a stretched land cruiser in paint so I could look how it would turn out.
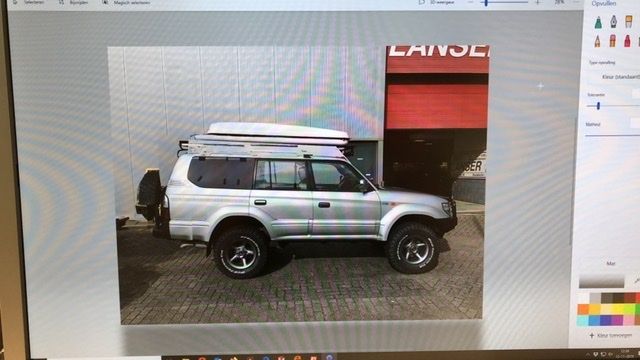
But now the time has come to stretch the car in real life.
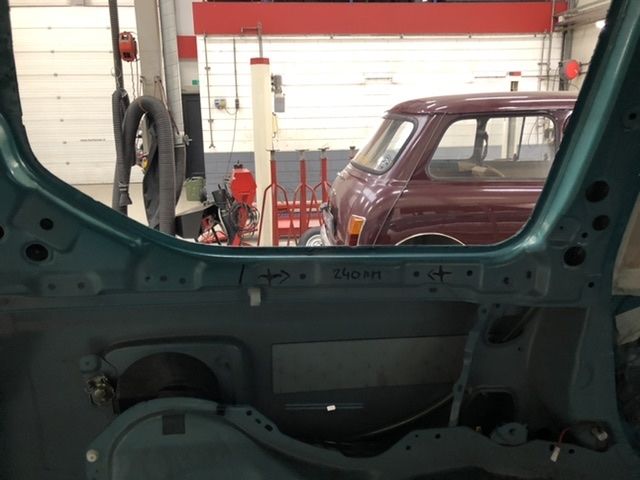
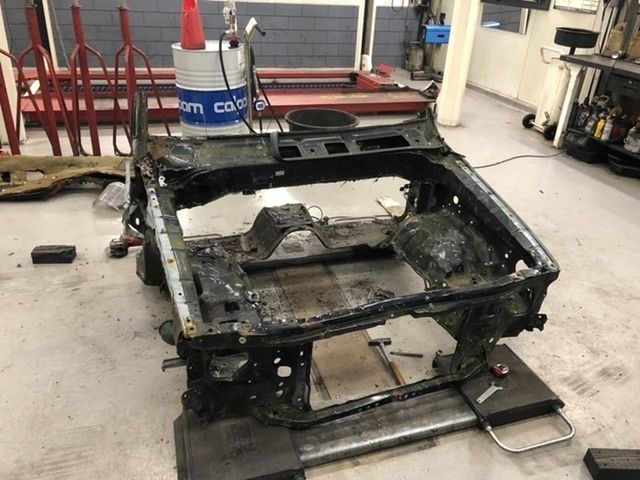
First I needed to check if I could find some good references in the back of the car. I found out there where a couple of holes On a distance of 24 cm so I used those as reference to stretch the rear end.
With the references determined I could start to check where to cut the rear and also determine where to cut the other rear end.
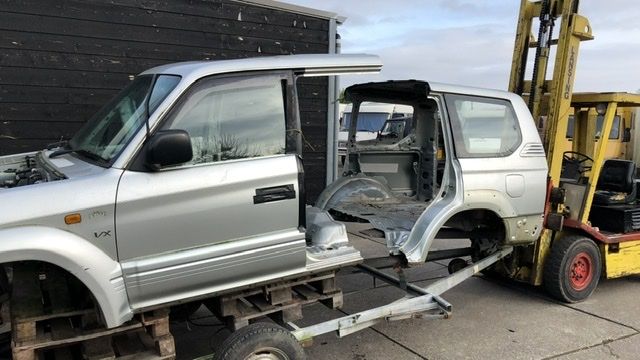
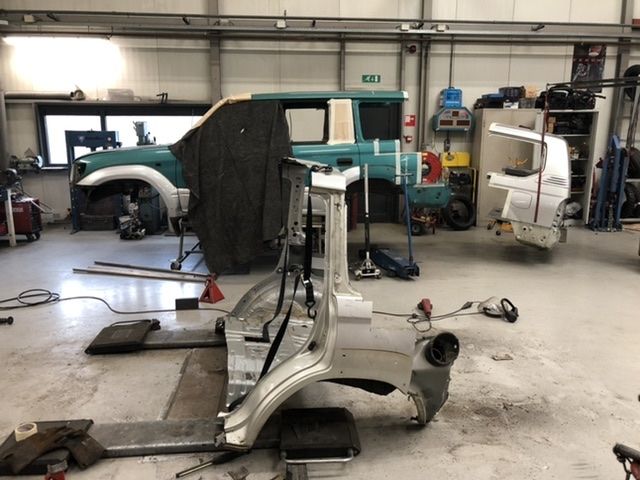
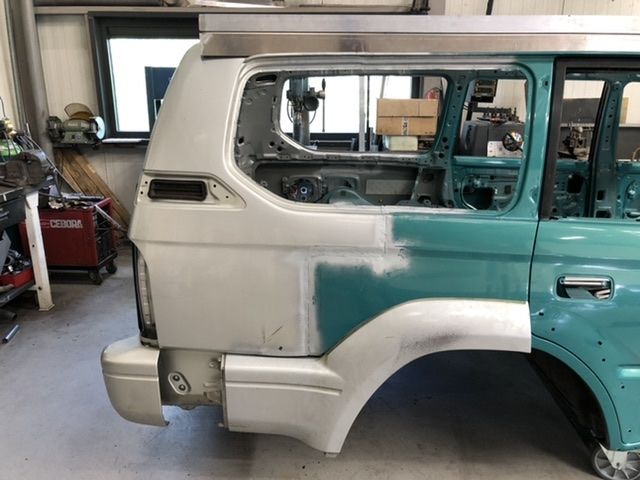
I will cut the rear end of the car behind the fuel cap. And the second rear end I will cut before the fuel cap because the size of the fuel cap is 23 cm which wil make it great to create 2 fuel caps on the car. One for the fuel and the other will be for water.
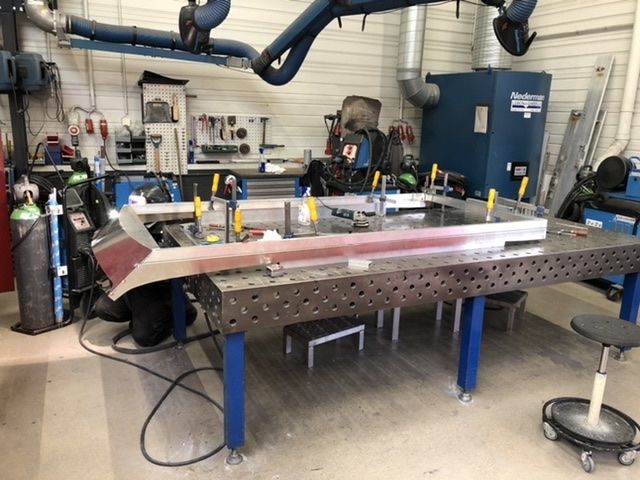
Next is picking up the second rear end cutting it on the correct place so I can stretch the land cruiser.
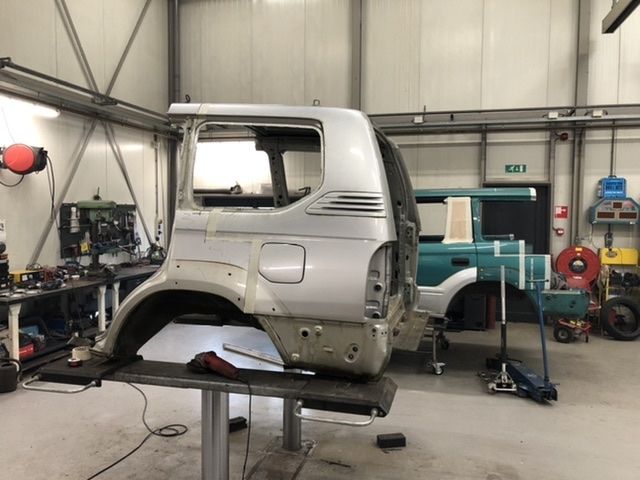
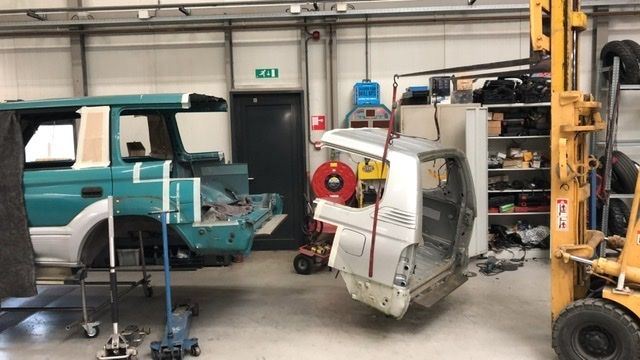
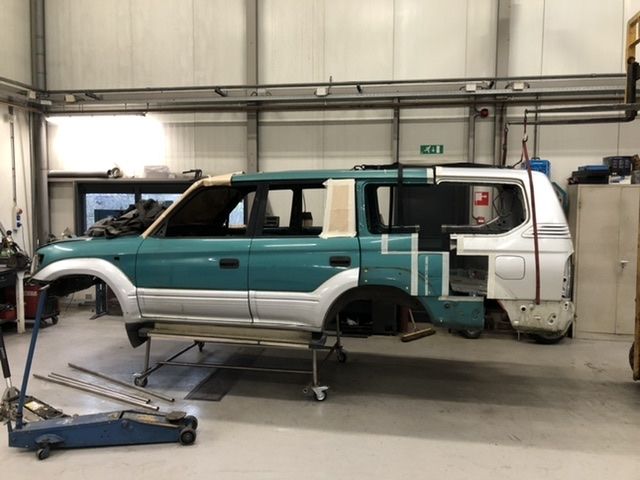
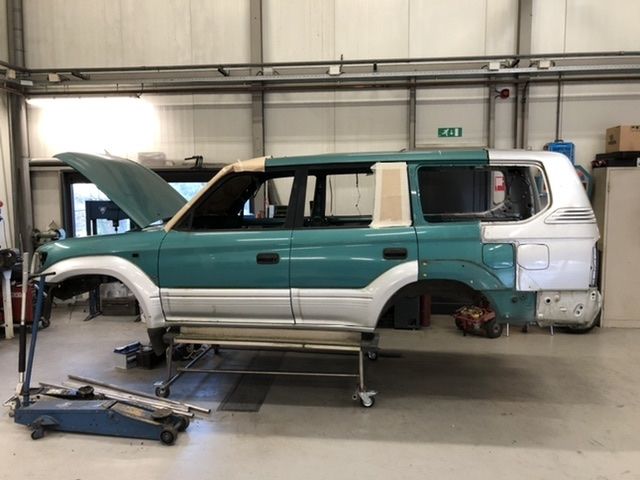
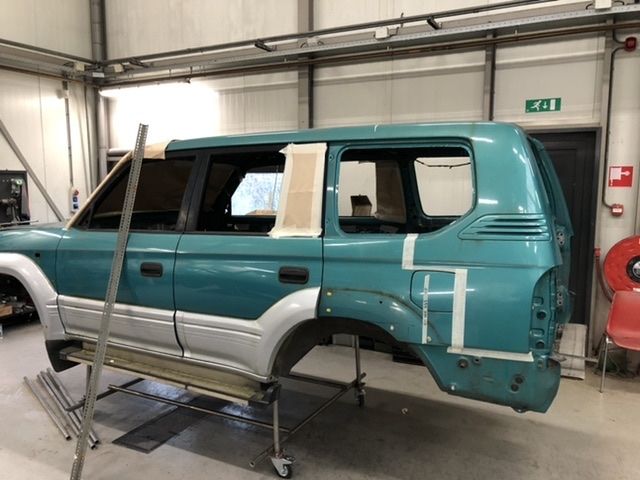
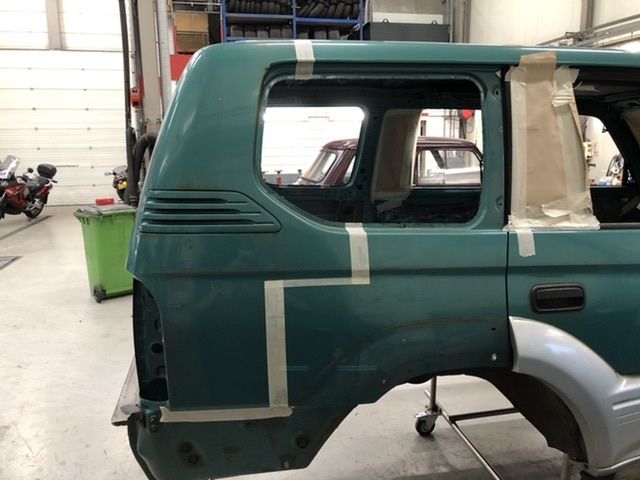
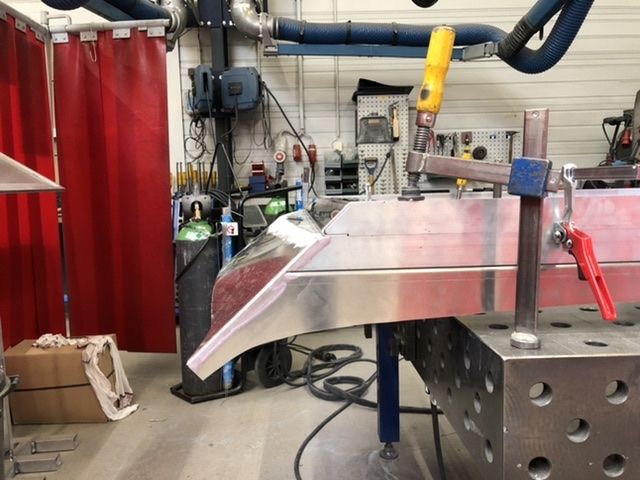
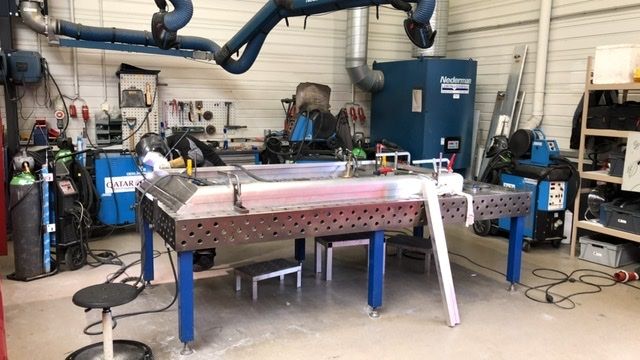
So far so good! The rear-end fit and now I have to weld it together.
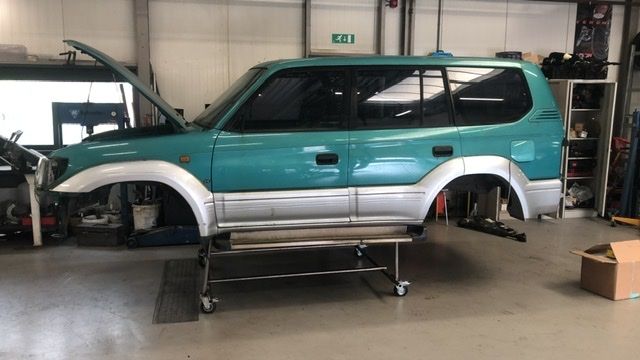
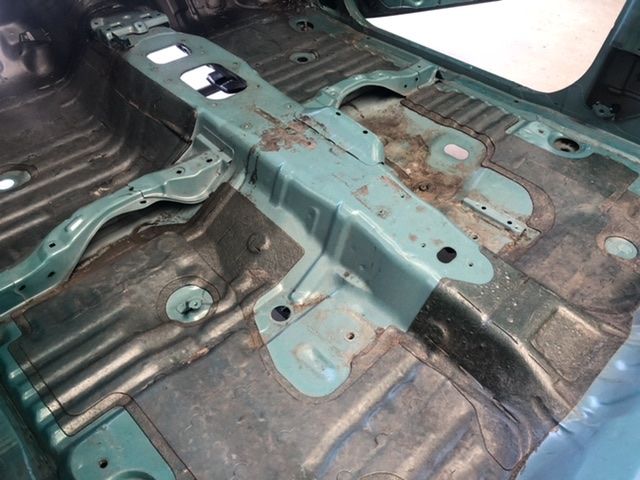
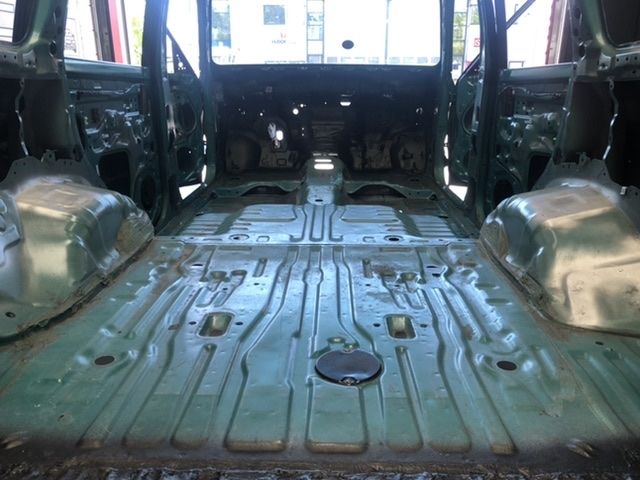
The car looks pretty good so far! The camper is something i would keep it for as long as possible so I will make sure the rust free bottom will be rust free for the next 15 years. So the couple of small rust spot I treated and when the complete bottom was rust free I put a new and fresh layer of anti rust an anti gravel spray on it
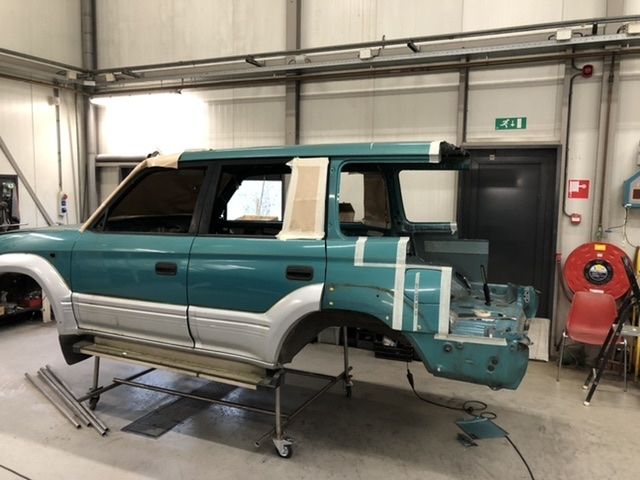
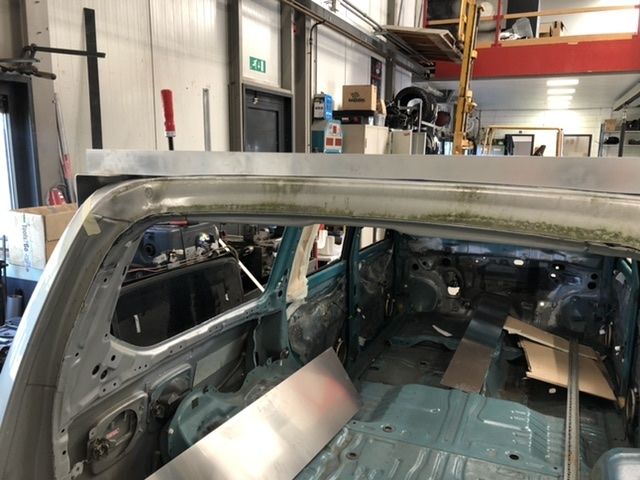
I also made a new frame for the body. In this lower position it is easier to get acces to the roof and cut it and make the pop-top roof.
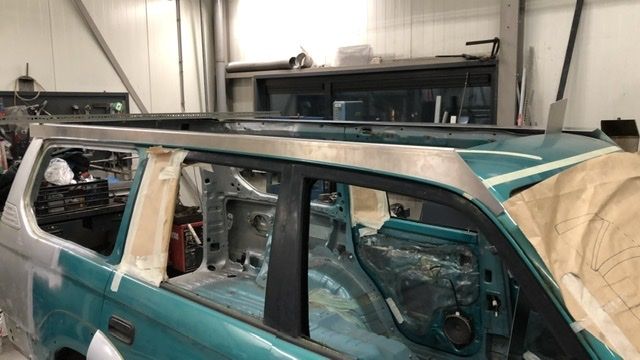
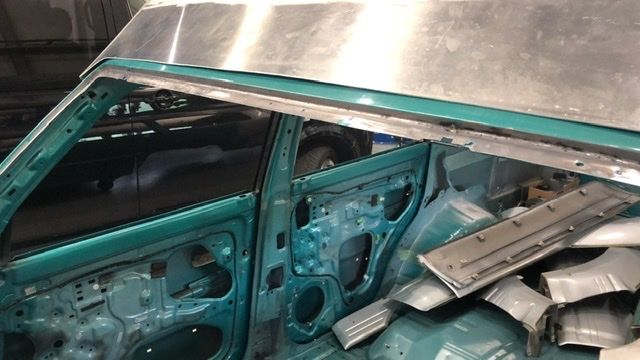
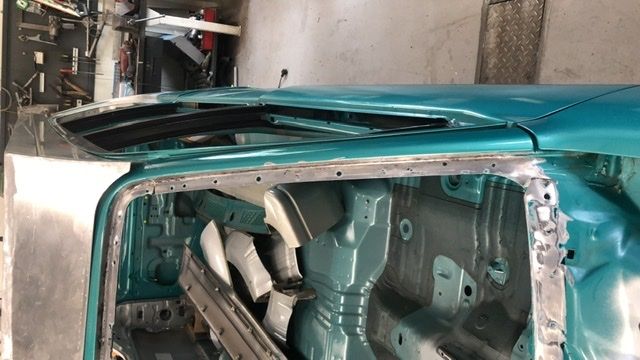
The car is stretched and now it is time for cutting the roof and engineering the pop-top.
First I need to cut the roof and then I can get the right sizes of the roof and design the pop top in a 3D CAD system.
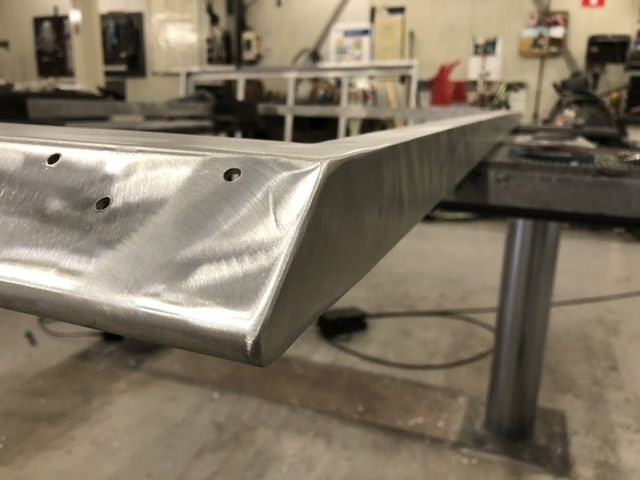
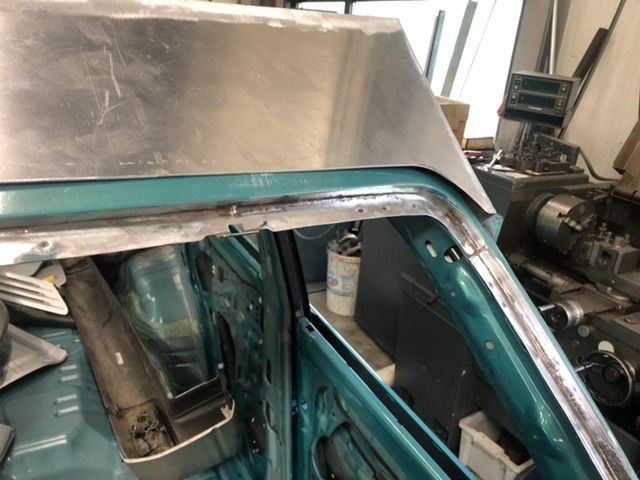
Slowly the roof is coming together, it’s very nice to see al the parts coming together and seeing my creating come to live.
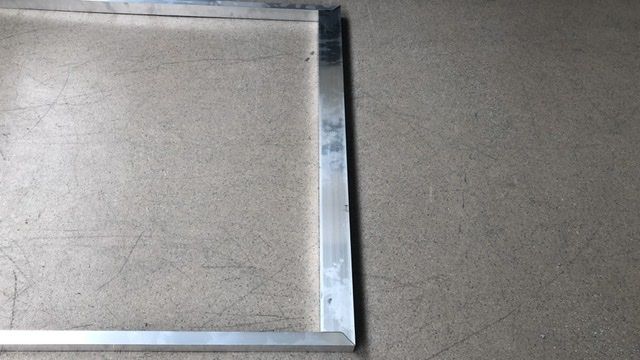
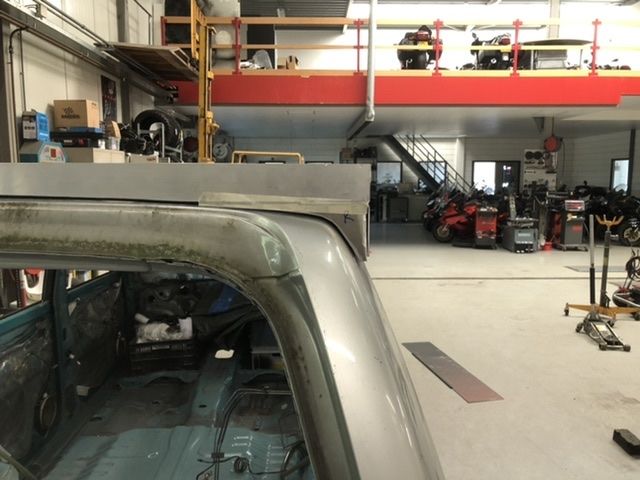
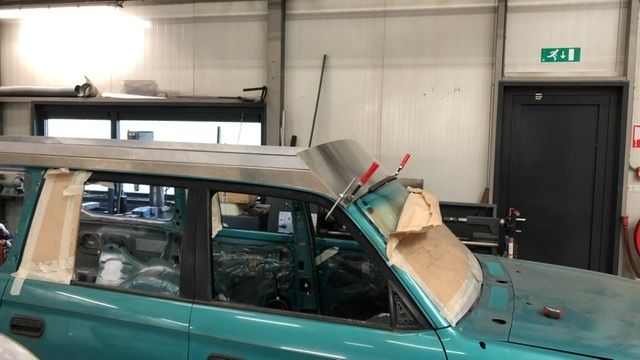
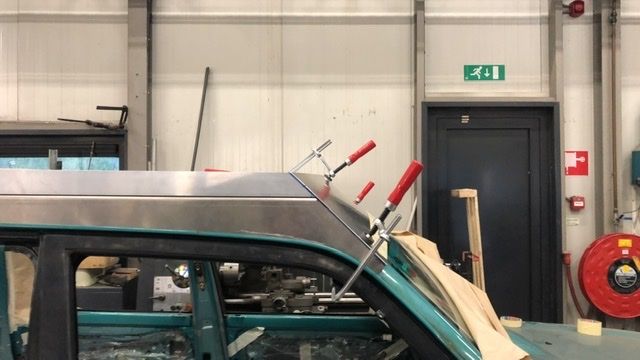
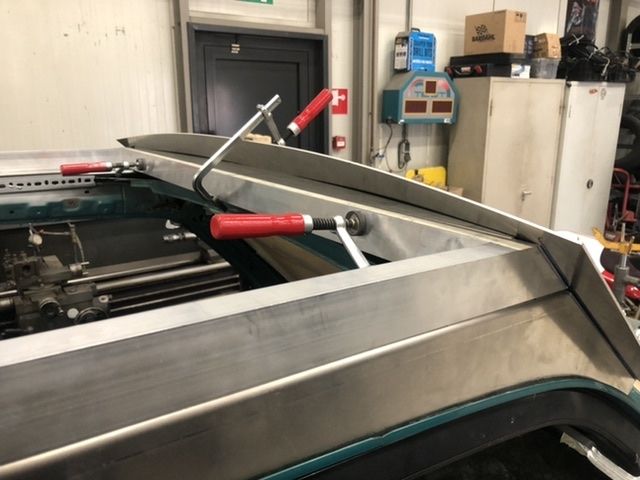

The roof frame fitted the car so now it’s time to weld it and also manufacture the pop top.
Next step is putting the roof home and put it on the car and get this pop top working!
Looking great! Good idea sourcing additional vehicles for the build, would be painful doing it to your existing one. Are you planning on doing a smiliar suspension setup with it, ie with the bodylift as well?
Hé Glen,
I want to keep the height atliest the same as right now. So I’m gone try the same setup. Depending on how it is driving and looking I have to finetune it a bit. Also thinking of make it fit 35 inch tyres but first finishing this project.
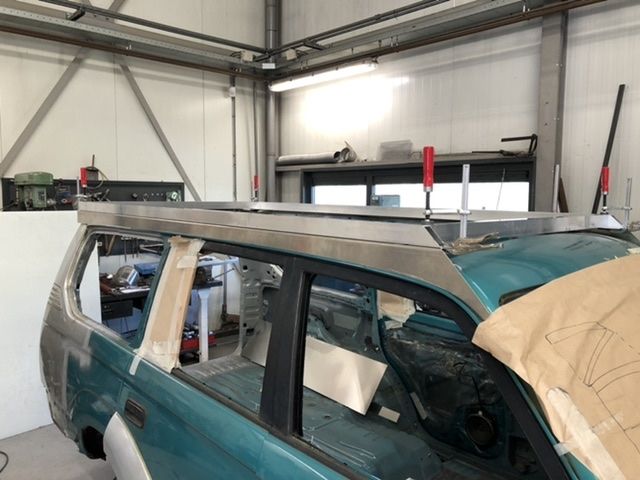
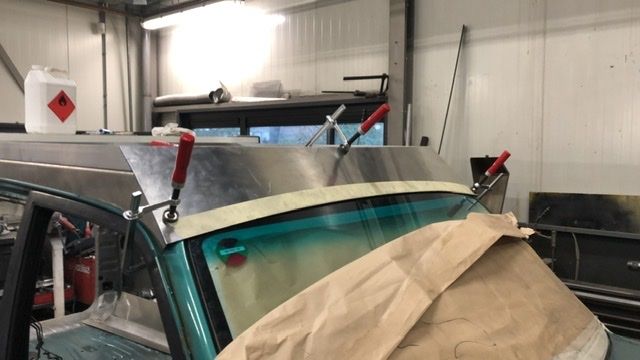
Next step was fitting the roof on the body and putting the pop-top together and working.
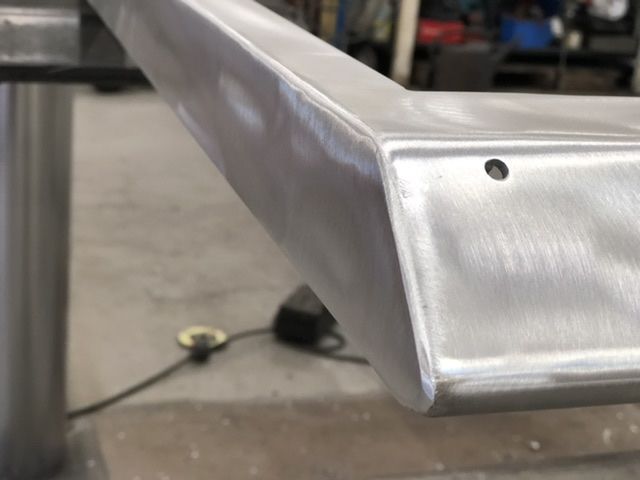
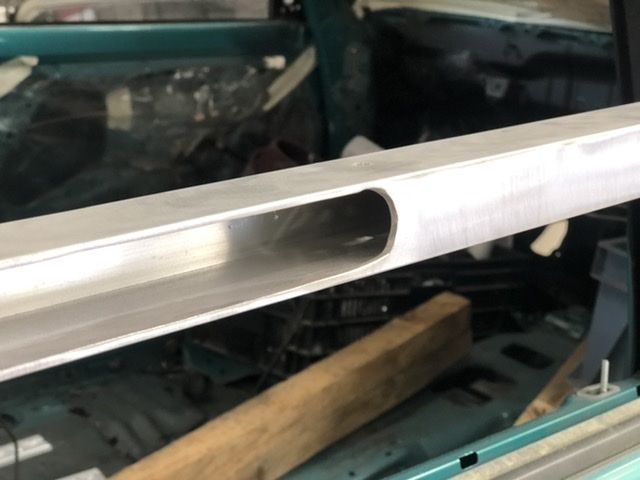
The height of de pop top is good so now it was time to get the gas springs in place. I wanted to get the gas springs inside of the tubes of the frame. Became a very tight fit but it fits good and works very nice.
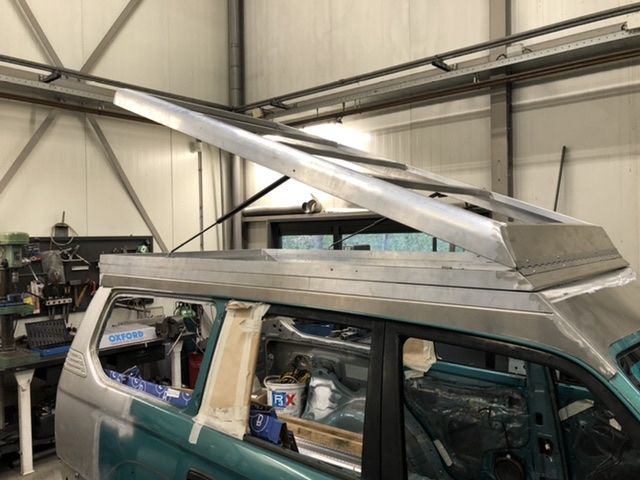
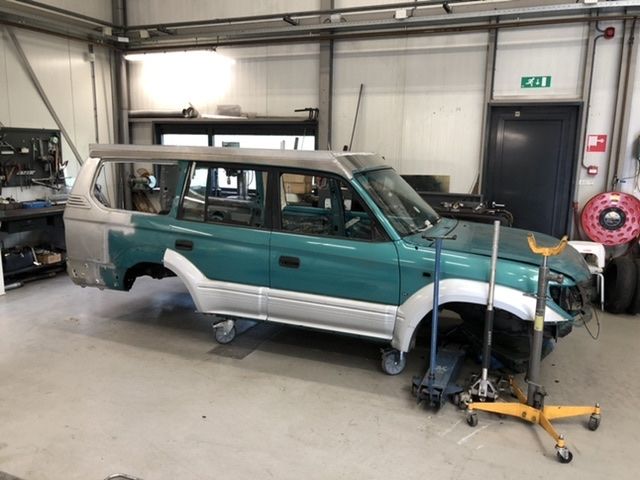
The roof works really good! The design meets my expectations so that’s very good. First time I got it on the car I was a little shocked because it is like a very big hat I put on it but the first part is going to be painted in the colour of the car. The 2 moving frames wil be coated black.
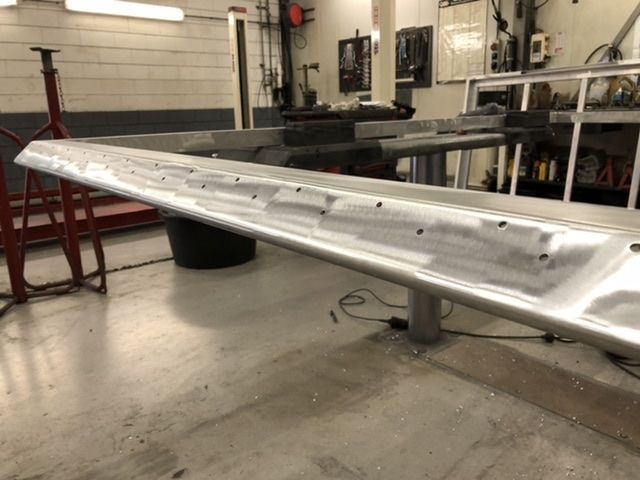
Now it is time to get the frames ready for coating. So time for grinding and sanding it. And making sure everything wil look great after coating.
Now the roof is send away for coating it is time to get the car ready for the paintjob.
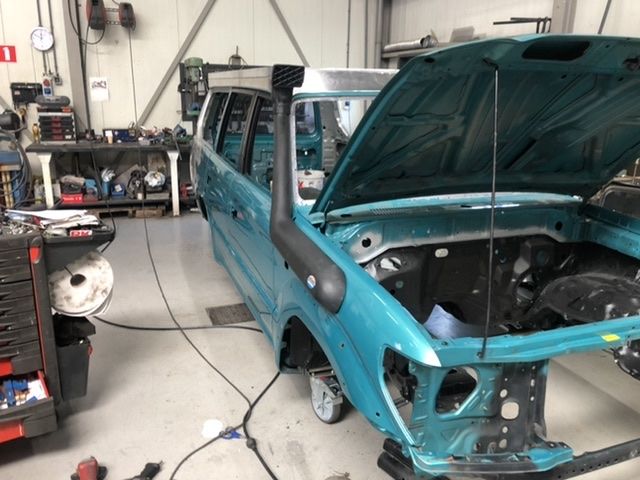
Now it is time to get the car ready for the paint job. I started with Removing al the last bits and pieces of the car that I don’t want to get painted.
So made the doors empty, removed the last bolts, clips an also the fender arches needed to get of. They wil get painted but it’s better to remove them for the paintjob.
After getting the car empty I cleaned the car. It stand outside for quite a long time and the inside was full of spilled drinks from 20 years ago. So time for a bath.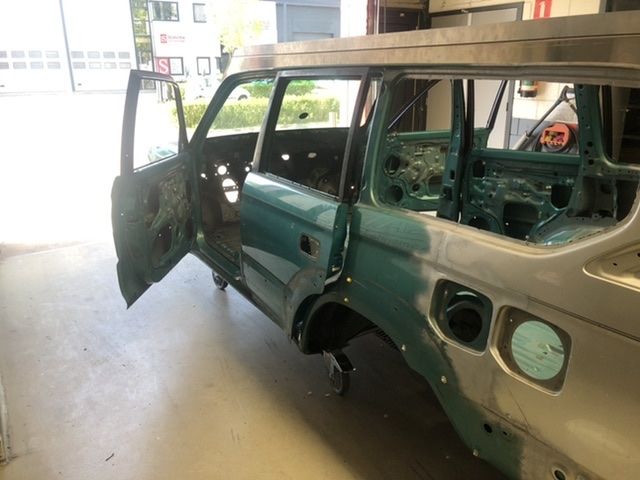
The car looked completely different on the in and outside much better.
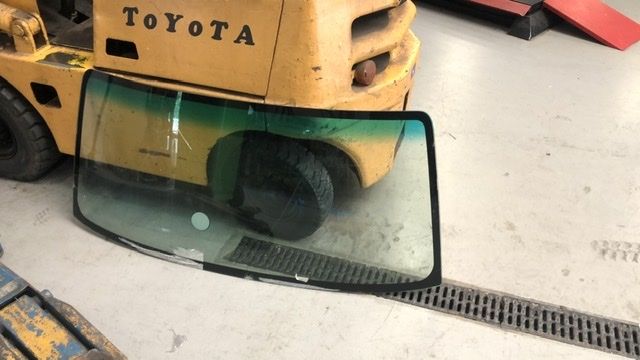
During the build I spotted some rust around the front window so I decided to take the front window out, get rid of the rust en after the paintjob there will be going a new window in it. A new car deserves a new window right
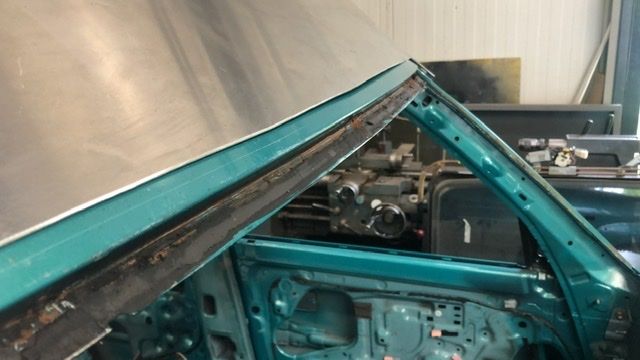
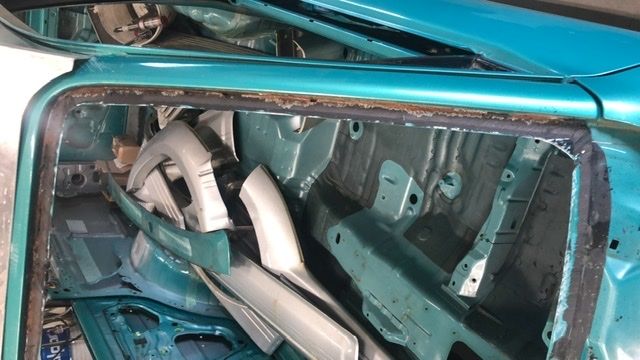
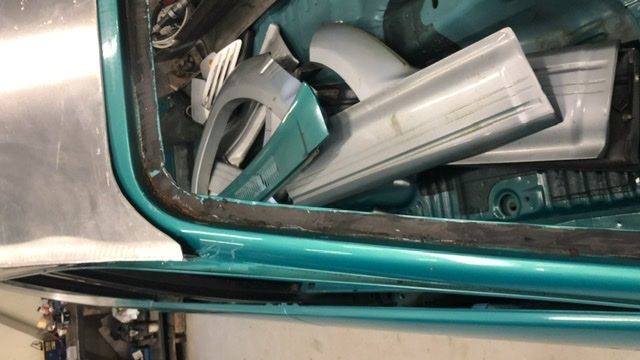
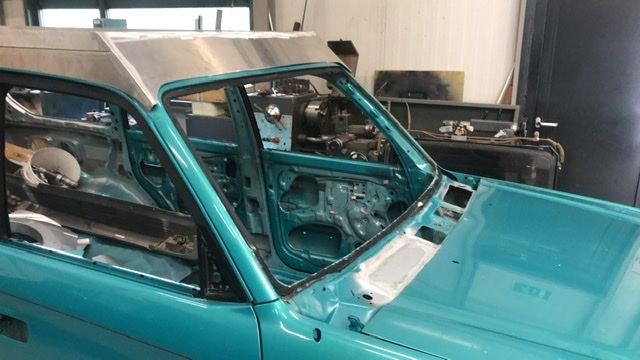
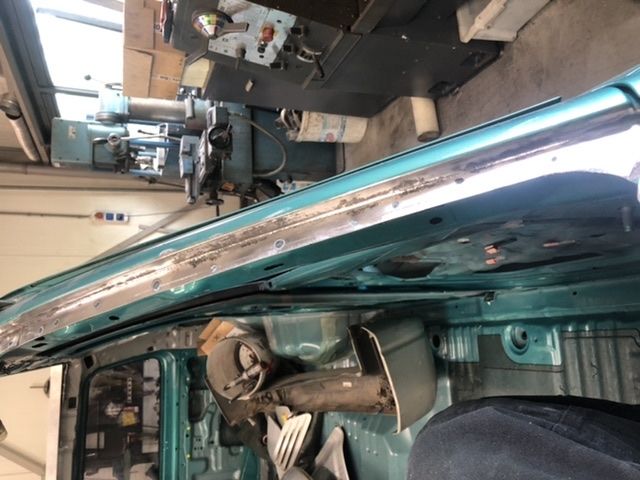
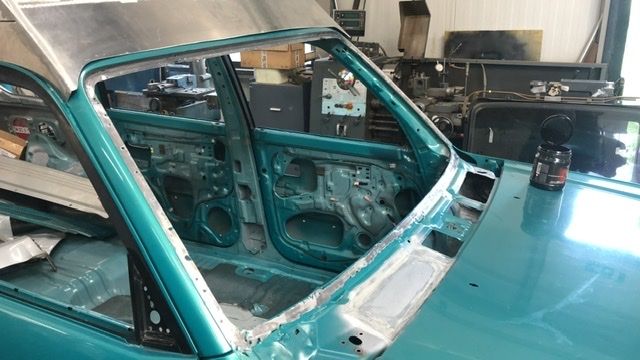

Turns out there was a lot more rust behind the window then expected. Glad i took the window out and choose to do it before the paintjob.
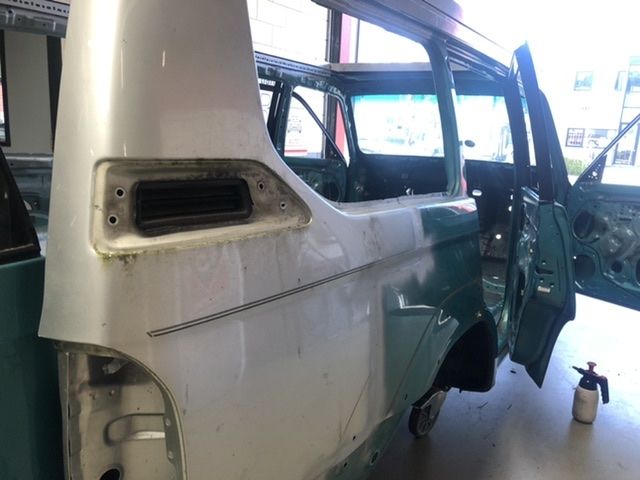
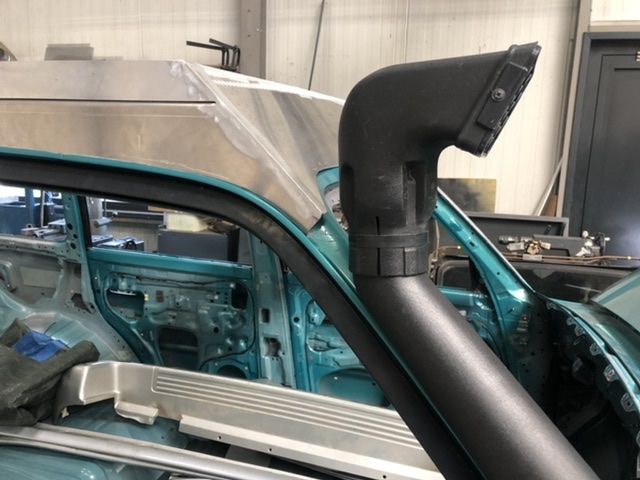
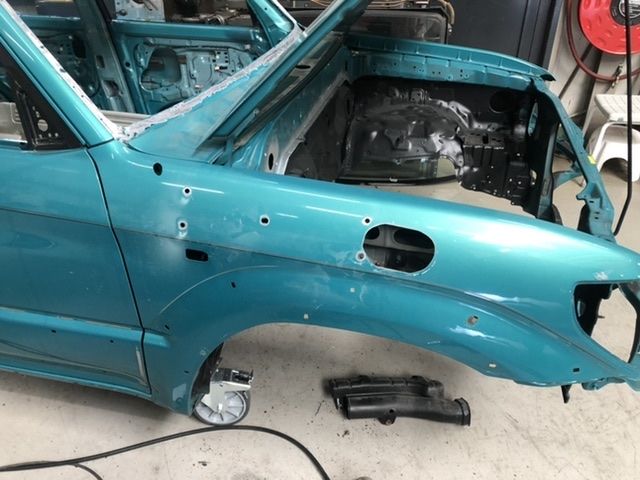
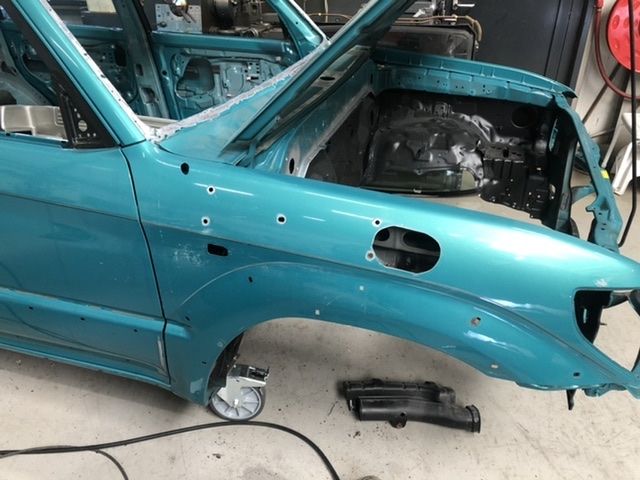
I also made the holes in the fender for putting the snorkel already. I would cry if I have to make those holes in a freshly painted car.
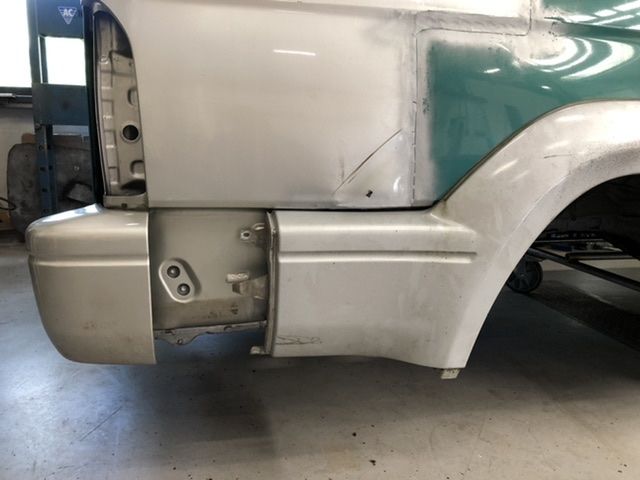
this is where I’m right now and what I’ve done the last 5 months. Before the car is getting to the painter in need to glue and rivet the roof part on the car and also need to do something about the bumper/fender connection. I come 24 cm short on the fender flare.
Currently I’m searching for some used flares but they’re hard to find second hand. I ordered a right side somewhere in Russia. And the left side I still need to find.
Crazy amount of work and serious skills been put to use in thos build. Love what ypu have done so far. And watching this continue👍
Absolutely fantastic work!
If you're thinking of 35s, maybe have at look at expanding the wheel arch areas before having it all painted. At least the front body seam, if not done already.
Also for the rear bumper, another option - assuming you're going to keep the steel bar from your other 90 - could be to just extend that bar forwards?